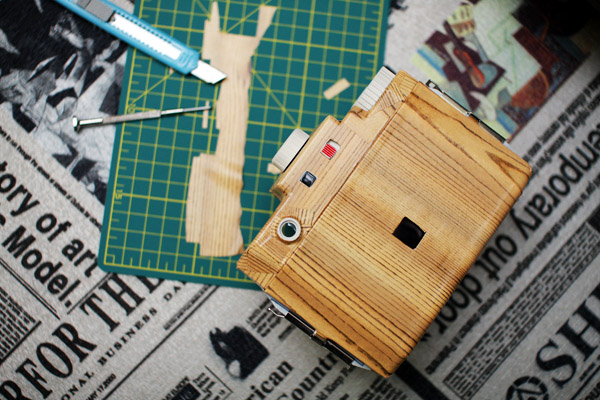
It’s been raining lately and I thought my naked white Holga might feel cold. So I decided to dress her up! Introducing … the Woody Holga!

Some asked me how it’s done. Well it ain’t too hard really … all you need is an adhesive sheet (saw them come in different patterns in a DIY store), a pen knife and a cutting base (unless you are ready to throw away the table you are working on). All you’ve to do is cut larger pieces for the back and front, carefully align and stick them. Cut some smaller ones for the small areas which are extremely tricky if you want the results to look good. Somehow the adhesive sheet doesn’t stick well when it comes to corners … so here is a secret ‘trick’. Use a hair dryer! The heat from the dryer will make the sheet ‘softer’ and it’s way easier to stick the pieces.
Good luck dressing up your Holga and do send me some pics of it when you’re done. I’d love to start a section showcasing the different designs we all have.
Oh by the way … should you slice off a finger or two in the process … don’t throw them away. Glue them onto the sides of the Holga … I’m sure it will look really neat.


